
Every time I watch the 3 prequels, I marvel at the amazing costumes made for Padmé. Totally impractical, (but so are stormtrooper helmets), restricting, heavy, but gorgeous, splendiferous and plentiful! The red gown from the Phantom Menace is probably the most iconic. Concept artist Iain McCaig and costume designer Trisha Biggar deserve a lot of credit for making something so dramatic.
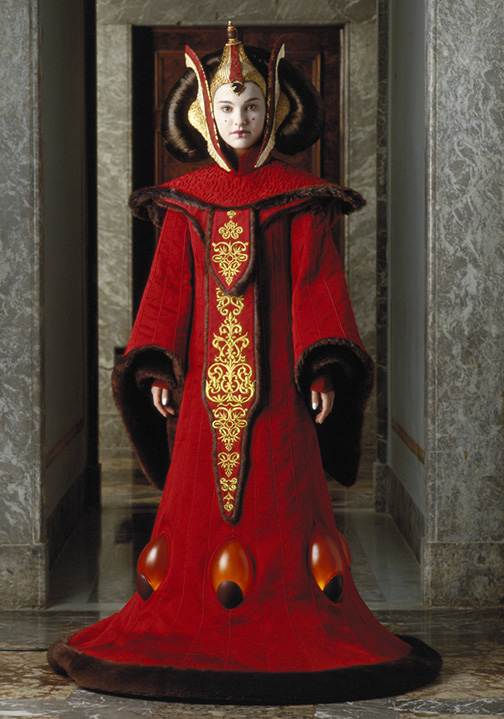
This photo is from the official Star Wars site, the best 10 fashions designs.
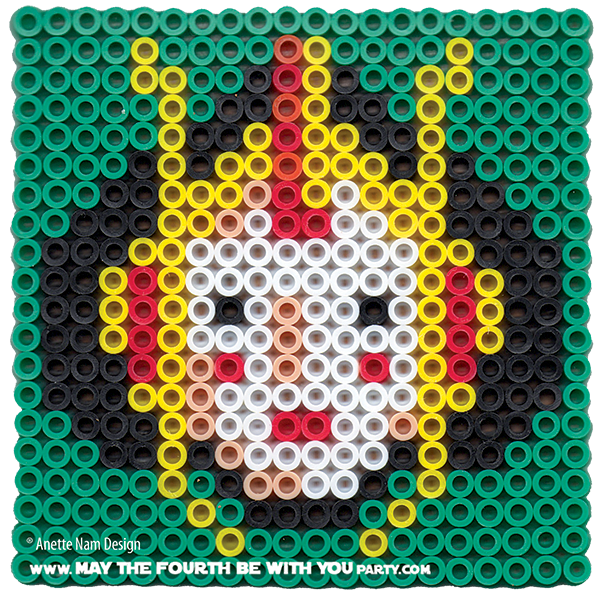
One day, I would love to make a Queen Amidala costume for my daughter. We already have our 2015 Halloween costumes planned, but maybe the year after. While I make plans in my head, we’ll have to make do with the perler version.
Here is #8 in the Perler bead/cross-stitch/Lego/pixel/mosaic series.
Needed:
- Perler Beads (Black, White
, Parrot Green
, Yellow
, Orange
, Red
, Sand
)
- Tweezers (optional)
- Perler Clear Pegboards
- Removable Tape
- Printout of Pattern (download above image)
- Iron
- Baking Parchment Paper (Perler Ironing Paper
)
- Heavy Object with Flat Bottom
- Cork sheets with Adhesive Backs
- Scissors or X-acto Knife
- Glass
- Bantha Milk (optional)
How To:
- Download and print out the pattern provided (mirror it, if you only plan on ironing on only 1 side).
- Cut out, then tape pattern to the back of the Perler Pegboard so the dots line up with the pegs.
- Add the Perler beads (tweezers are pretty handy if you don’t have a 6 yr old’s tiny fingers).
- Carefully move pegboard to ironing board, place parchment (or Perler ironing paper) on top.
- Iron until the beads start melting together (If you have never done this before, it might take some practice to get it “just right”).
- Let cool for a bit, remove from Perler Pegboard and remove paper.
- Optional: turn over, cover with parchment paper and iron on other side. (put something solid and heatproof underneath to make ironing easier)
- If you only iron on 1 side, place it under something flat and heavy while it cools, to avoid curving.
- Cut cork about 1/4” smaller than the square, affix to the back.
- Don’t forget the Bantha milk. Enjoy!
Tips:
Usually people iron on both sides of the Perler bead design, but I prefer to only do the back. The designs look crisper and more “pixely”. With the cork on the back, I have not had any problems with the coasters falling apart, but feel free to iron yours on both sides.
Note, if you only plan on iron on only 1 side, you need to mirror the pattern.
Also, the coasters are pretty hard to clean, so try not to get anything too gunky in there.
Get Supplies:
Perler Beads 1,000 Count-Black
Perler Beads 1,000 Count-White
Perler Beads 1,000 Count-Parrot Green
Perler Beads 1,000 Count-Yellow
Perler Beads 1000 Count-Orange
Perler Beads 1,000 Count-Red
Perler Beads 1,00 Count-Sand
Perler Beads Clear Square Pegboards 4 Pack
Perler Fun Fusion Ironing Paper 6/Pkg-
Darice Adhesive Backed Cork Tiles (This is a bit thicker than what I used, but I can’t find the same kind I got)
Note:
Feel free to use these patterns for any personal use – but please do not sell items made with them. Also, feel free to link to this blog so others can download the pattern, but do not download and then re-upload in order to offer them as downloads on your own site/blog. THANKS!

Pingback: Sabine Wren Perler Pixel Pattern | May the Fourth be with You Party
Pingback: Darth Vader Perler Pixel Pattern | May the Fourth be with You Party